Finishing up the sunglasses!
All the flowers ready to be baked! You have to be really really careful baking them, the thin petals are so easy to burn. I recommend baking them at a reduced temperature but for longer.
Spray paint would have been ideal, since it can make a much better reflective gold but I didn't have any. So I worked with what I had, some gold micro glitter and acrylic medium. It works okay! I kind of like the understated shine.
All painted! You can see here how the ends of the roses ended up. I didn't want to trim them before they were baked since the chances of ruining a finished flower were incredibly high before baking.
Instead I just used some wire snips to clip it off! My flowers were just a tad under baked since I was so scared of burning them, but that's probably for the best anyways since if they weren't a little flexible the petals would start breaking.
Sadly I am a loser and didn't get any photos of my gluing the flowers onto the glasses :( I'm sorry! I used Fabri-tac glue, which may or may not have been a mistake. Ideally super glue or some kind of epoxy glue, but I'm super gently with my sunglasses so I think this will be okay. I may go in around the edges and add more glue for support.
To glue the flowers I sorted them into pairs of like sizes first, doesn't have to be exact but similar at least. Then I glued the two largest in the top outside corner on each side. I then worked one at a time, switching from one side to the other to keep everything even and make sure that I didn't run out of flowers on one side. I used ten flowers on each side, so twenty in total, but this could vary depending on the size of your flowers!
If anyone makes anything like these I'd love to see them! x)
Showing posts with label etcetera. Show all posts
Wednesday, June 27, 2012
Tuesday, June 26, 2012
Sunglasses part 1
Sorry for no updates, I've been kept busy with vacations and commissions! I'll try to take progress photos of commissions so I'll have something to post :)
For now I have a little tutorial on a pair of sunglasses that I made! I saw some photos of Dolce & Gabbana's fashion show and they had these amazing sunglasses with 3D flowers around the corners. I'm not know for my expert fashion sense, but I know what I like when I see it. Unfortunately I couldn't find any info if they were going to be released, when, or for how much (I probably couldn't afford them anyways). So when I can't buy something I try to make it! You can find photos of them if you google "Dolce & Gabbana gold floral sunglasses".
I bought a cheap $10 pair of sunglasses to use, so that if it didn't work out I wouldn't ruin something expensive. There were a few pairs in the show, but I liked the pair that had gold flowers on a large rounded square frames. The frames were copper looking metal, but I wasn't able to find anything that specific. Other than that all you need is some sculpey, and if you have one lying around a needle tool!
The flowers have to be pretty small to be a reasonable size to fit on the glasses. I recommend starting out making a larger size rose and working your way down, once you've made about ten of them you'll feel like a pro! For the size I'm working on start with a little ball this size.
Squish the little ball between your fingers once and pull them apart, you don't want the clay to stick to your fingers or you will ruin the petal when you try to take it off!
Keep squishing it until it's as thin as you can get it without it tearing apart, I keep switching from one hand to the other to keep it unstuck. Since I decided to do this with my fingers the flowers will end up with my fingerprints in them. If this bothers you you'll have to either wear gloves or press the petals between wax paper.
Now you start making the center of the rose, get it on one of your fingers and start rolling from one side.
When it's all rolled up you want the center of the roll to be a little lower than the outside, if that makes sense? If your petal was round to begin with it should happen automatically.
Carefully stick this onto your needle tool, this helps because otherwise there is very little to grip without ruining what you've already made. It's not too firmly on there, but enough that it won't fall without being bumped.
Carefully pull the edges of the petal out and down a little, so that it's drooping downwards. if you look at a rose the edges of the petal are turned down. Now you have the center of the rose to build from!
Now add another petal! I usually use a little bit more clay than I did to make the center, but it's personal preference. Instead of making a circle make it an oval, otherwise you would have to make a million petals.
Sorry for the blurry photo it was difficult to photograph my dominant hand ^^; Gently place the petal against the side of the center, placing it so that it's slightly higher up than the center. You want the center to be sunken in the flower, not poking up and out. Press only enough that it sticks but doesn't deform the center, then carefully wrap the rest of the petal around. I usually pinch the bottom and roll a little to be sure it's fully connected.
Again fold the petal down, this time you want to create almost a 'point' in the center. To get this shape fold down either side so that it almost folds into a corner and very gently pinch to get it to the right shape. It's hard to explain!
Another petal!
And another! I usually end up with four petals including the center. You can continue and make as many as you would like, but I had to limit the number of petals to keep the size down!
Part two tomorrow, painting the roses and making some sunglasses!
For now I have a little tutorial on a pair of sunglasses that I made! I saw some photos of Dolce & Gabbana's fashion show and they had these amazing sunglasses with 3D flowers around the corners. I'm not know for my expert fashion sense, but I know what I like when I see it. Unfortunately I couldn't find any info if they were going to be released, when, or for how much (I probably couldn't afford them anyways). So when I can't buy something I try to make it! You can find photos of them if you google "Dolce & Gabbana gold floral sunglasses".
I bought a cheap $10 pair of sunglasses to use, so that if it didn't work out I wouldn't ruin something expensive. There were a few pairs in the show, but I liked the pair that had gold flowers on a large rounded square frames. The frames were copper looking metal, but I wasn't able to find anything that specific. Other than that all you need is some sculpey, and if you have one lying around a needle tool!
The flowers have to be pretty small to be a reasonable size to fit on the glasses. I recommend starting out making a larger size rose and working your way down, once you've made about ten of them you'll feel like a pro! For the size I'm working on start with a little ball this size.
Squish the little ball between your fingers once and pull them apart, you don't want the clay to stick to your fingers or you will ruin the petal when you try to take it off!
Keep squishing it until it's as thin as you can get it without it tearing apart, I keep switching from one hand to the other to keep it unstuck. Since I decided to do this with my fingers the flowers will end up with my fingerprints in them. If this bothers you you'll have to either wear gloves or press the petals between wax paper.
Now you start making the center of the rose, get it on one of your fingers and start rolling from one side.
When it's all rolled up you want the center of the roll to be a little lower than the outside, if that makes sense? If your petal was round to begin with it should happen automatically.
Carefully stick this onto your needle tool, this helps because otherwise there is very little to grip without ruining what you've already made. It's not too firmly on there, but enough that it won't fall without being bumped.
Carefully pull the edges of the petal out and down a little, so that it's drooping downwards. if you look at a rose the edges of the petal are turned down. Now you have the center of the rose to build from!
Now add another petal! I usually use a little bit more clay than I did to make the center, but it's personal preference. Instead of making a circle make it an oval, otherwise you would have to make a million petals.
Sorry for the blurry photo it was difficult to photograph my dominant hand ^^; Gently place the petal against the side of the center, placing it so that it's slightly higher up than the center. You want the center to be sunken in the flower, not poking up and out. Press only enough that it sticks but doesn't deform the center, then carefully wrap the rest of the petal around. I usually pinch the bottom and roll a little to be sure it's fully connected.
Again fold the petal down, this time you want to create almost a 'point' in the center. To get this shape fold down either side so that it almost folds into a corner and very gently pinch to get it to the right shape. It's hard to explain!
Another petal!
And another! I usually end up with four petals including the center. You can continue and make as many as you would like, but I had to limit the number of petals to keep the size down!
Part two tomorrow, painting the roses and making some sunglasses!
Monday, April 30, 2012
Not actual work.
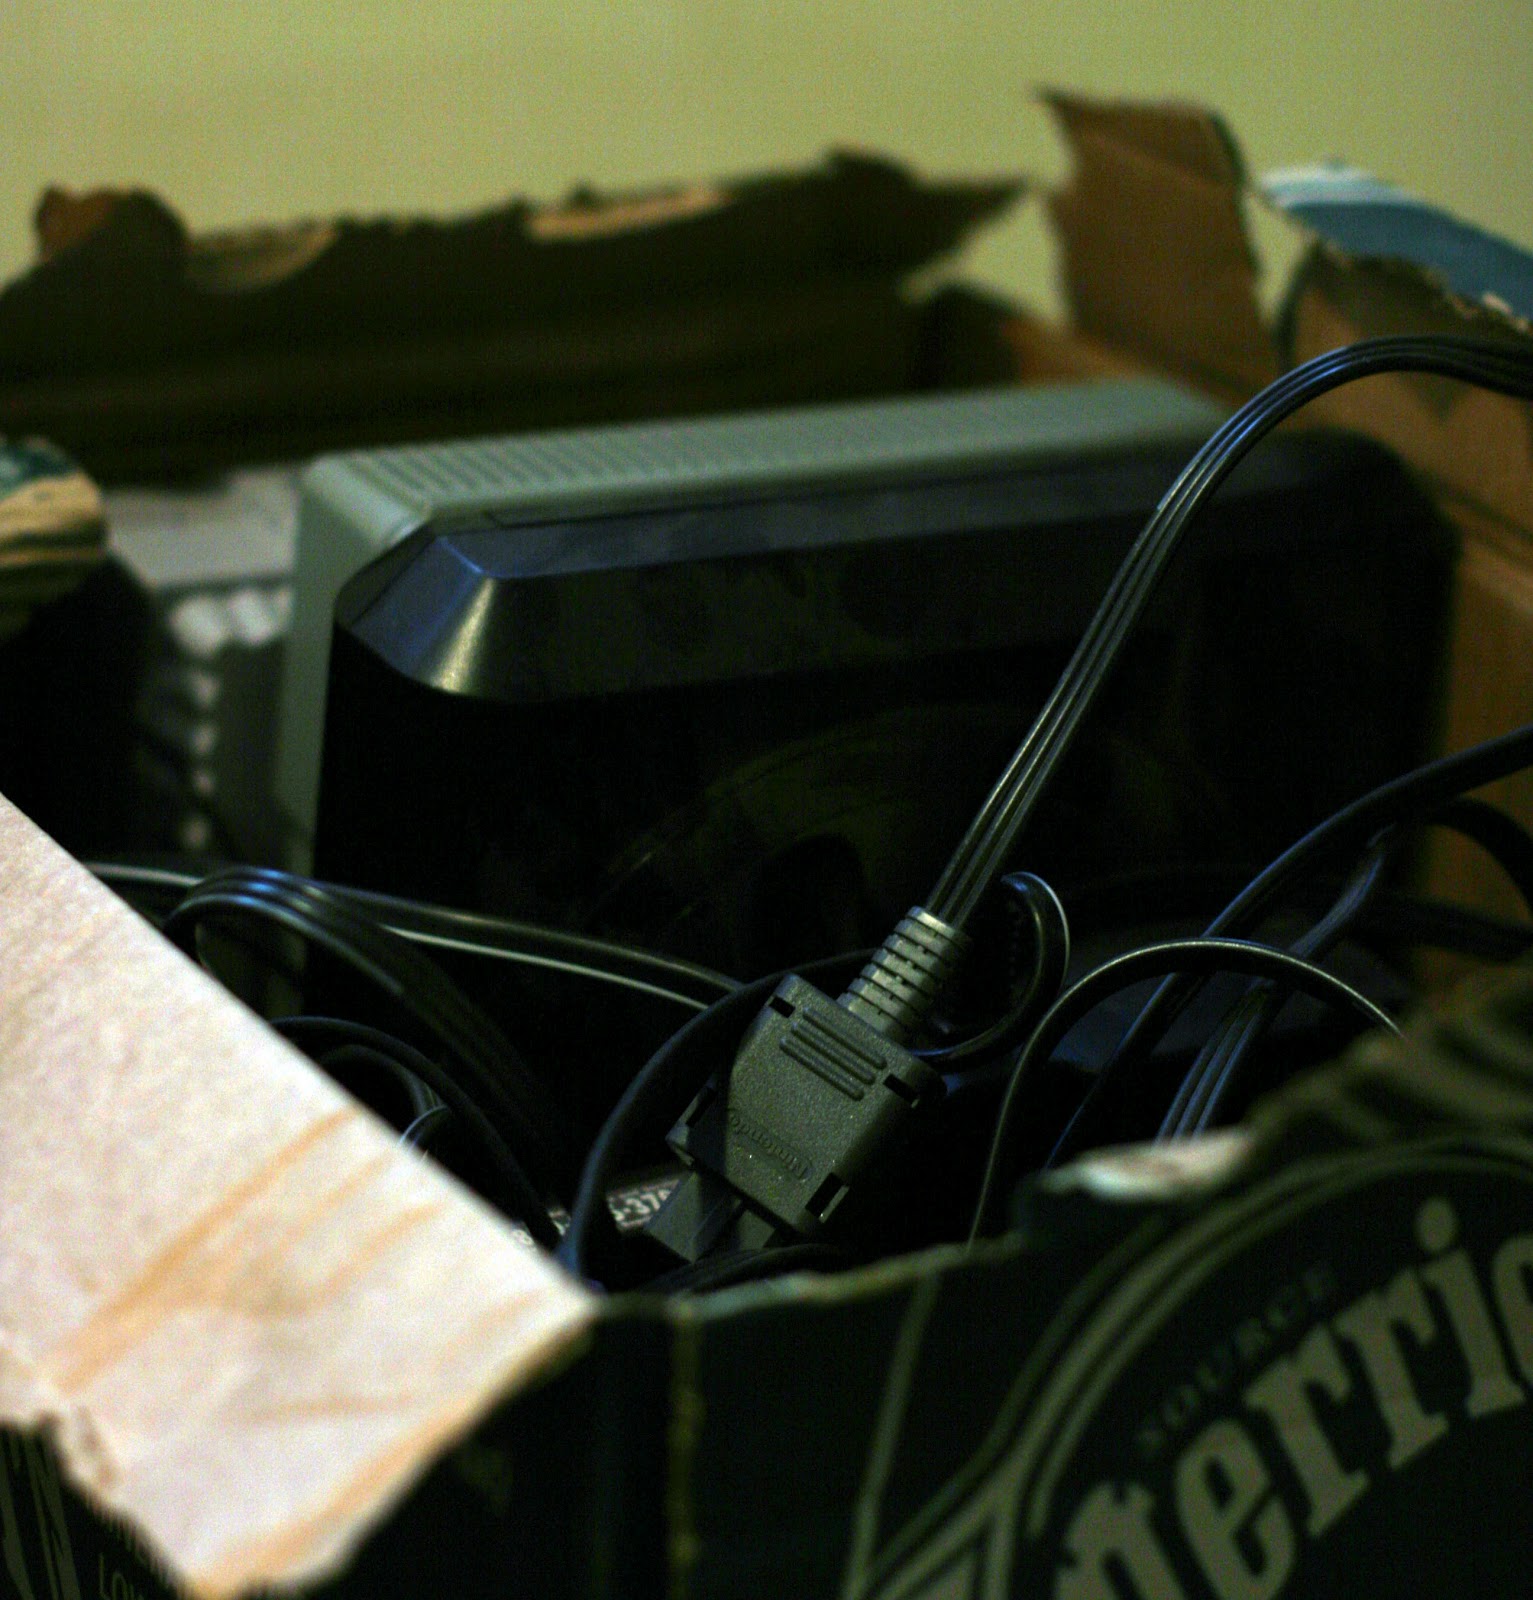
I just got back from vacation, so I have not been working on anything! ^^; Instead I went over to my aunt's house and picked up a box of old gaming things that she was ready to throw away. I already have... all of this, but I couldn't bear to see it be thrown out. It's not even worth much if I were to sell it, but I'll hold onto them for a while I think.
Saturday, April 28, 2012
Hair embroidery
Well, turns out hair is hard to embroider with, who would have figured? I'm trying anyways haha ^^;
It's so springy that I doesn't like to lie flat on the fabric, I haven't figure out any real 'tricks' yet except to work in short sections of hair at a time, only 5-8 stitches per length of thread.
Friday, April 20, 2012
Damnit Michaels...
So my mother wanted to have a picture from our house re-framed, and we brought the whole thing to Michaels because we're lazy and had them take it out of the frame for us. It was painted by my grandfather's uncle.
Well when the guy came back out it had a big tear out of the picture, ugh! I mean obviously this picture was not matted properly the first time (looking at all that glue makes me queasy), but clearly the guy just ripped it off all willy-nilly too! I mean come on, if I had known I would have taken it off myself at home and given more care.
The guy didn't even apologize.
So we bought the frame anyways, since it wasn't worth griping over after it already happened, and it's not like it's a piece that we paid money for, it was given to us. But we brought it home and I'm going to try matching some paint and at the very least making it less noticeable.
My forte is more with matching skin tones, but I'll do what I can. I'm not even sure what medium it's done in though, pastels? Watercolor? Gouache?
Well when the guy came back out it had a big tear out of the picture, ugh! I mean obviously this picture was not matted properly the first time (looking at all that glue makes me queasy), but clearly the guy just ripped it off all willy-nilly too! I mean come on, if I had known I would have taken it off myself at home and given more care.
The guy didn't even apologize.
So we bought the frame anyways, since it wasn't worth griping over after it already happened, and it's not like it's a piece that we paid money for, it was given to us. But we brought it home and I'm going to try matching some paint and at the very least making it less noticeable.
My forte is more with matching skin tones, but I'll do what I can. I'm not even sure what medium it's done in though, pastels? Watercolor? Gouache?
Subscribe to:
Posts (Atom)