Showing posts with label ceramics. Show all posts

Thursday, September 27, 2012

Burnishing clay

I saw this really beautiful pot in a gallery a while back and it's stuck in my mind ever since.  It was a black pot, and the designs on the pot were so intricate, but they were created using a matte/glossy surface.  It was also completely black, I love it but it was $450 and I just couldn't do it :(

I got home and got to thinking that maybe I could make myself something similar!  So for now I'm working on a little test piece to see how everything goes.  If it goes well I'll get another clay that doesn't have grog in it, which is not ideal for burnishing.  I would also do well to figure out a way to smoke fire to get it black!


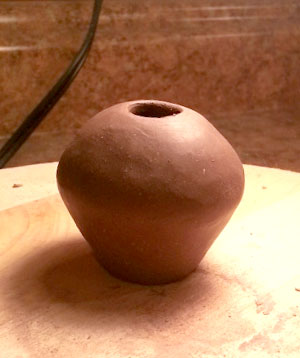
I just coil built a small pot.  If only I could throw!


Smoothed out fairly well.


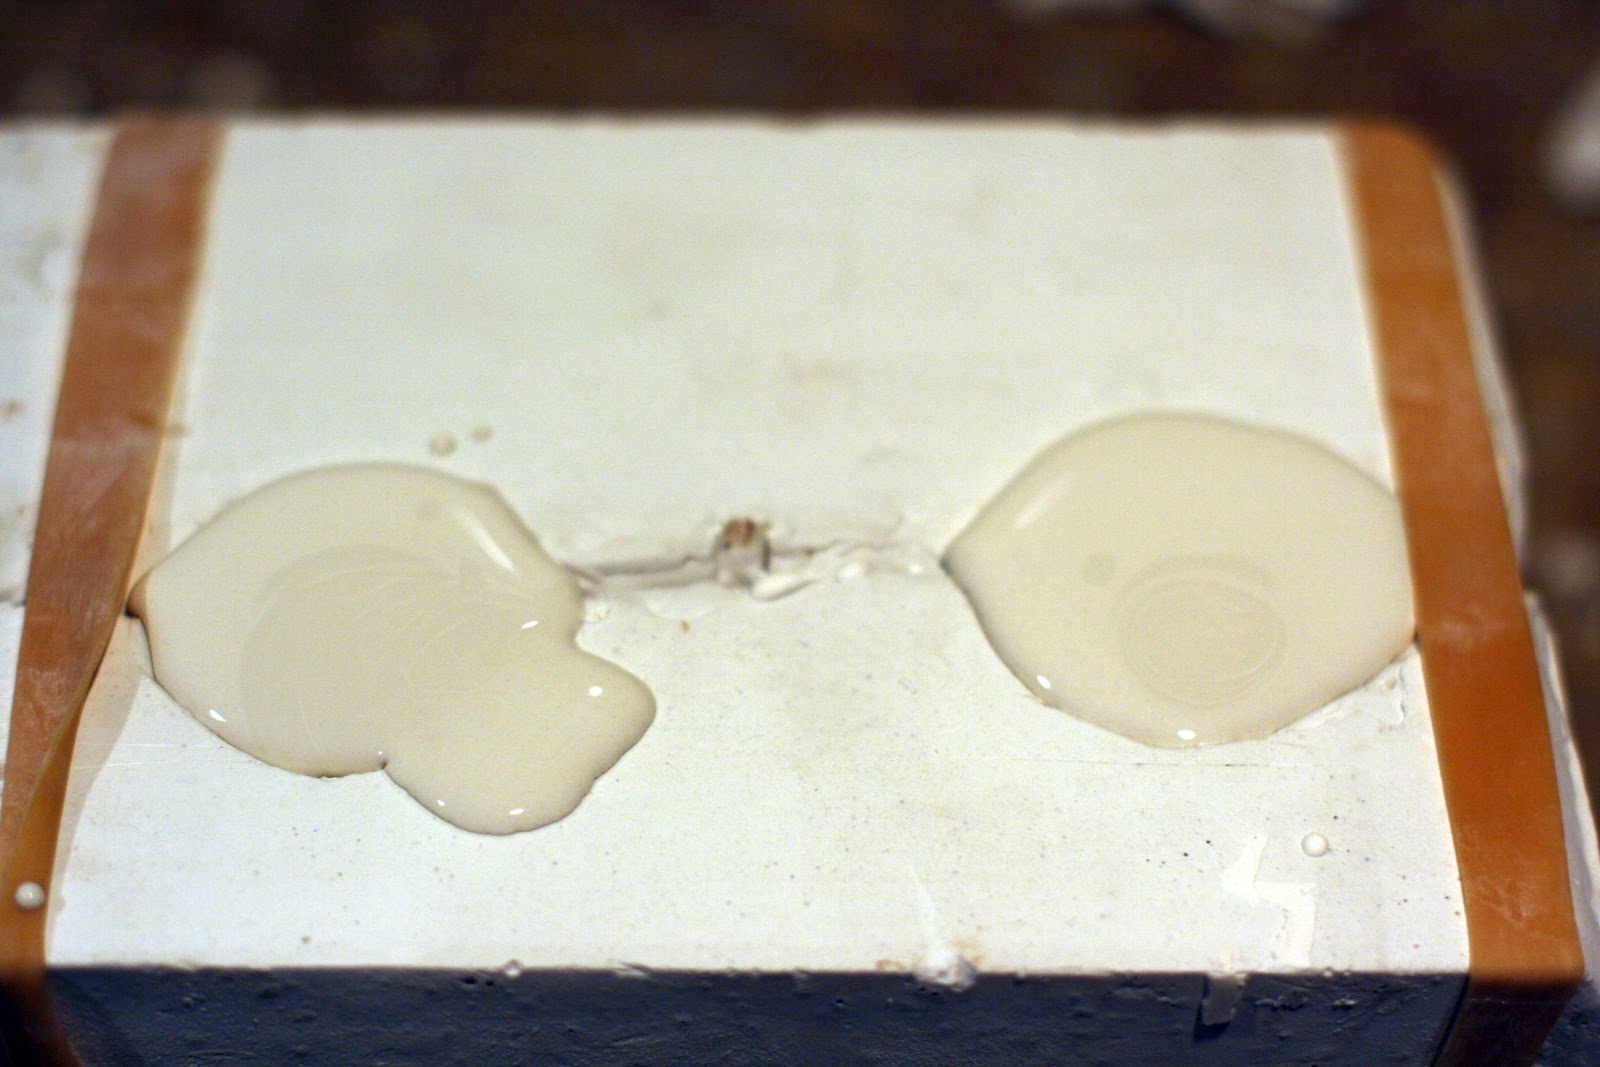
Final smoothing and the stone I'll be burnishing with.


Augh, I forgot that burnishing just exacerbates any lumpy areas on a pot.  At least I learned how much easier oil makes it to burnish!  Before I only knew to use a little water and it took so long, but the oil!  Oh gosh, it just went on so easy and the burnishing was a dream.  I'll need to do one more round before it's ready to fire, but so far it's been good!

So far though this little test gave me so many ideas for wanting to make miniature pots.  The one here is only about three inches tall.  I want to make tiny red figure pottery.

Saturday, July 7, 2012

Sollux Horns - Casting on Porcelain

It's been a while since I've worked on these!  The reason being that my basement is being torn up, and I have to do all of my ceramic work there since it's so messy.  I took a day and managed to make a work space for myself though, so here goes!


Supplies!  I have a ton of Ultra Chic porcelain slip left over from my individual study in college, so I'm going to use what I have lying around.  Other than that I have a strainer, an old coffee pot to pour with, and a mold!  I have to strain the porcelain before using it to make sure it pours smoothly.


All poured into the mold!  My mold is all dry right now so it's going to cast pretty quickly.  So that I can gauge when I need to pour the excess porcelain slip out I poured some on top.  Once that little extra bit on top is dry I can pour the liquid center out.


Letting the porcelain drip out!  I didn't think about it when making the mold, but it's a little awkward to cast both horns at once since they're spaced just so that they won't pour back into the slip jar.


After they're all poured out here I have a shell of slip inside my mold, woo!


After giving it some time for the porcelain to harden a little more in the mold I pull it apart.  You know it's time to pull the mold apart either when it come apart without any pulling, or the porcelain starts to pull away from the edges. The porcelain shrinks a little as it dries.


Carefully pull it out of the mold.  Be gentle, porcelain is very fragile before firing!


Cut off the pour hole, it's junk.


Lastly you clean up the seam lines a little, I drilled some holes so that I would have something to firmly attach them with.  Firing comes next!  I'm waiting until I have a few pairs to fire so that I'll have extras, and that may take another week or so since I have to wait until the mold is dry enough for me to cast more.

Monday, June 4, 2012

Back to horns!

I haven't done anything with these horns since my basement flooded which really kept me from being able to work on these for a while.

I realized that I was going to have to figure out a way to attach these to a head.  Unfortunately it would have been better if I had thought about it sooner and I could have attached something inside the wax while it wax casting.  The wax doesn't bond to itself very well, it prefers to stay in layers if you do that, but I think this will work?


It's really not idea :(  It makes me want to just move on the the porcelain ones, but my ceramics room is still out of order from the flood.

Thursday, May 10, 2012

Wax Castings

So here's the horns all cast!


You can see where they pulled a little bit of plaster out of the inside of the mold, so that means I didn't put enough mold release in before I poured them, but that should come off without much problem!  I also will need to clean up the parting line, since the texture gets interrupted.


I think I got the thickness about right!  I wanted them thick enough that they weren't going to fall apart, but thin enough that they were still very translucent.


Both pairs!  They still need cleaning up, and I haven't cut off the pour holes yet so they'll be shorter than this, but they're shaping up!  I'm trying to decide how to paint them so that they keep their translucency?

Tuesday, May 8, 2012

It's all okay

Well, despite the problems with the first half of the mold that I had, it ended up okay anyways!  The thing about plaster is that if you've done it on a smooth surface, it's much much easier to clean up if you wait for it to set up, and can just chip it up in large chunks.


Pretty easy!


I was so glad that the texture came out just fine in the plaster!  I was a little bit worried about it, since in some spots the texture was a little deeper.  Since plaster isn't flexible at all you have to be careful about very small thin details.


I took the horns out of this half of the mold, cleaned them up and put them back in.  I also had to put a little more plasticine to keep the pour hole open!  This time I had to put vaseline over the horns AND the plaster, since otherwise if I pour more plaster on top it would seal the two halves together, and the whole mold would be useless!


Boxed back up!  This time I made absolutely 100% certain that there were NO GAPS.  Thankfully this time there was no leaking problem, so the mold will be finished soon!

Monday, May 7, 2012

Plaster ruins everything

When I last left off it was the last step in mold making before getting into plaster.  Plaster is notoriously messy, but easy to work with.  It's just two ingredients, water and powder, and you don't have to do anything but mix them and wait.

You always want to use cold water, since it will extend the length of time you have to work with it before it sets up.  I usually work with a 2:1 plaster to water ratio, maybe a little bit more plaster to thicken it up.  The thicker the mix is the harder the plaster will set up, which is something you want, but you can't be working with pudding or there will be too many bubbles to worry about.


So here's the inside of the box!  You can see there are gaps where the clay doesn't meet the sides perfectly.  Those all need to be filled very carefully!  You do not want leaks!


At this point I thought that everything was sealed up.  It looks sealed up, right?  Well, apparently it wasn't, because when I poured the plaster...


There is a limited number of options when this happens.  If it's a slow leak, and your plaster is setting up fast (if it's fresh and you used warmer water it will go faster) you can hope for the best.  I was not so lucky, my plaster is a bit old and I had two fast leaks.

From that standpoint I had two options.  One, just let it go, come back later when it's all set up, and take it all apart and start all over with the mold making process.  Or two, try to plug up the holes where you see them with clay and either mix more plaster to pour in or try to scoop up what leaked out and pour it back in.  I did the latter, and it worked out?  This was just a silly little mold for fun, so I wasn't too concerned about it having problems.


I managed to get enough plaster back into there that it was thick enough, sure was a mess though.


My poor shoes, they were not so lucky :(

Sunday, May 6, 2012

I hate mold making

You would think with all of the molds that I've made I would be good at making molds by now?


But it is not so, inevitably every few molds disaster will strike, especially if it's been a while since I've made one.  I was too confident in thinking that just making one very small mold would be easy ^^;


It also doesn't help that the messy room I use for making molds and casting is kind of creepy, so I'm always a little bit on edge in there.  It used to have a window to outside but the previous owner of our house added a tool workshop right onto the side.  So instead of this window looking outside it looks out into a dark, messy workshop.  I need to get curtains, or paint those windows or something...


Plaster, my old nemesis...  At one point in my life I was going through more bags of this than I could buy locally.  25lbs of plaster sounds like a lot, but when you're using it to make molds it goes REALLY fast.  You just need a lot of square inches of plaster to get it done!  You can get these bags at home depot or other hardware stores usually.  But you should try to buy FRESH plaster too!  It makes stronger molds that will last longer.  But unless you've worked with plaster a lot it's probably not a noticeable difference.


Okay make sure to lube everything up!  One day I'll invest in a spray mold release, but for now vaseline is cheap.  You want to put on enough so that everything is very slick, but not so much that you fill in details with it.  I only need to put it on the horns this time around, since I used oil clay it will naturally repel the plaster!


These are molding boards!  They're not too useful for much else, but they're pretty easy to make.  The point of them is that they're easy to clamp together tightly.  My father made these ones for me and varnished them so that they would repel the plaster without me having to vaseline them first.  I usually vaseline them anyways to be sure though.


Here's how they clip together!  You see how?  They clip together this way so that they can be made to fit any dimension mold.  C-clamps are cheaper, but I got these in a pack at the hardware store for like $20 and since I make a lot of molds it was worth it to me.

Be ready for the impending disaster tomorrow...