Sunday, March 18, 2012

Things made out of hair!

These photos aren't new or anything, but they're of the items that I made of my own hair!  I showed some spun hair in my last post, but this is from some different spun hair.  I have red hair, and have been saving it for a while from off of my hair brushes.  I had some left from when I had my hair dyed blonde (it was more of a strawberry blonde) and right now my hair is its natural red.


Regular red!


Strawberry blonde!

And some of the things I made out of it!  I didn't used it all, but I did use most of it.


A ring that I tatted, it's really scratchy to wear unfortunately :(  I need to look into a way that I could seal it with clear resin maybe?  Then it would be stiff and smoother, right now there's so many hairs sticking out that poke into my skin.


Two earrings, they're not perfect though.  Since the thread that comes out of spun hair is so uneven, it's not too easy to tat.  The problem comes when you need to pull the thread through a row of completed knots, the hairs that stick out get caught and won't pull through the knots smoothly.  To fix this I used half cotton thread, half hairthread, and used the cotton thread to pull through the knots instead of hair.  It's a little difficult to explain, so I'll try next time to make a little tutorial about it!

Friday, March 16, 2012

Human hair

I've been trying to post more again, but it's been pretty stressful around here, with a lot of doctors visits x(  Excuses, excuses, but I'm trying!

Since I started spinning there was one material that I was pretty interested in trying to use, since I find it to be a terribly interesting thing: human hair.  It's durable, long lasting, shiny and everywhere!  The connotations it brings up can give anything made of it an interesting commentary, since it's been used historically.

I got some hair from a friend, just what was collected in her hairbrush, and went to town!  Since she has long slightly course hair I had to condition it first, and comb it so that all of the hairs were facing the same direction.  I was able to spin my own hair first, and spin it directly from the round sort of 'pads' that came off of my hair brush, but my hair only goes down to my shoulder, so when I pulled on a hair it would slip out of the tangle.  Since this brown hair from my friend is rather longer, when I tried to spin it from the round from the brush it just pulled into knots.

Human hair is not ideal for spinning though.  Unless you are skilled enough (which I am not) the ends of the hairs will stick out.  This isn't usually a problem for spinning materials like wool, since each hair is so thin that it just gives it a fuzzy look, instead of a spiny one like human hair.  But it's certainly manageable!  I don't think it would be possible to spin it much thinner than this without considerable skill, certainly the thicker you spin it the easier it will be.  Unfortunately it's not always easy to get a lot of it to spin with!


This is how much thread I got from 2-3 sizable pads of hair from a hairbrush, so not much!  It's still enough to make something small though.  I'd love to try weaving it once I get enough, but weaving is notoriously yarn heavy.

I'd like to say that once you go through the trouble of cleaning, brushing and spinning that it's easy to work with, but I can't.  It's incredibly springy!  It does not like being pulled into tight curves AT ALL.  Of course you can always make it do what you want, but it takes some patience.  I'll try to dig up some photos of the tatting that I did with my own spun hair!

Right know I'm trying to make an embroidery out of it, I'll post progress photos of that too!

Tuesday, March 13, 2012

Trying to paint

So I've never taken a formal painting class, though I've always sort of regretted not doing it.  I just don't know what I'm missing?  How much of it is about technique, and how much is just things you can learn your own?

I've never really done a formal painting before, I've painted things, but never picked up a canvas and started thinking what I wanted to fill it with.  I also don't have any canvases.

So what do I do when I don't have something that I think I can make instead of buying?  I make it of course!  I had some nice linen fabric that reminded me a little bit of canvas, and I thought would be kind of fun as a background for a painting, so I thought to use that.  Since I'm not good at woodworking, but always have mat board around I decided to use that for the frame.


I had already started painting at this point and don't have any progress shots of doing it since I didn't even really think it was going to work.  But the basic process of what I did was: get mat board, cut a window out, leaving an inch thick so that it's sturdy enough.  Drill holes ever inch, with 1/4" between them and the edge, so I don't tear any of them out.  Cut a piece of fabric with 1/2" extra on either side, and sew it on with embroidery thread.    I did my best to keep it even and stiff enough to paint properly, it's not perfect, but I found it wasn't really a problem!


Progress.  There's a white outline on the figure since I first drew it out on paper, then cut the silhouette out, put it down on the fabric and traced around it with a white pastel so I could keep it the same shape.

I started out with black shading though, which I'm not sure was the right plan?  It made the whole thing end up kind of dark.


And now, what I consider 'finished'.  I don't know about it though!  I think it's not bad for a first try at painting though, right?  I need more practice at light sources I think.  And color.  And anatomy, basically everything :(

Monday, March 12, 2012

White warp

I bought this nice looking yarn off of yarn.com since it was a good price, and had good reviews!  It's hard to shop for yarn online though, since you can't see the scale very well, and the colors are usually pretty different.  The trouble is that it's hard to beat the deals you can get online!

When I need to get 1000 yards of yarn at a time it's just no economical for me to go to a store and pay $10 a skein when I can find what I need online for half that.

So, this was one of the yarns that I bought, unfortunately I didn't stop to consider quite how thin it was!  It's pretty strong for how thin it is.  We'll see how much patience I have for weaving it, but I'm never one to throw away yarn!


It's only 160 ends, so it won't be too impossible to string onto the loom.  Sure will be tedious though.

Sunday, March 11, 2012

mini silk screen part 2

So it's dry now!  To finish this project all I need are: a screen with the image on it, a flat piece of cardboard or mat board and some paint!  Since I'm not going to be washing this mini shirt at all regular acrylic paint would have worked out just fine, but I just used my fabric silkscreen ink since it dries a little softer.


So here's everything! You can see that I added tape around the design on the bottom of my screen (the part that rests against the shirt).  Normally I would fill in the whole rest of the screen with tape to be safe, but the shirt is so small I only had to go out as far as the shirt.


I thoroughly  taped the shirt down, since it's so small it's not going to sit still very well!


This is my registration system!  Once I flood the screen with paint I won't be able to see where I'm placing the design through the paint, so I have to set it up so that I'll know exactly where to put the screen.


You can find really good screen printing instructions online, but it's really short and simple!  Just run a line of paint above where your design is, take your little square of cardboard (ideally a squeegie, but I don't have one that small) and very gently, without pressing down smear the paint over the design.  Make sure that it covers the entire design.  Then do a little test print, go over it again with your squeegie, this time press down fairly hard!  


Now lift up your screen to see your test print!  If everything seems good, it's a go!  For this really small one I had to move fast since if the paint dries in your screen, the screen is done for.  Since the test looked good I went ahead and did the shirt!


Woohoo, not bad!


After just a little touching up, it's acceptable I think!

Saturday, March 10, 2012

Mini silkscreening

So I posted about making a Homestuck troll doll, well if you know anything about Homestuck and the trolls you know that they have important zodiac symbols on their shirts!

I managed to make a little shirt, but had to think about how to do the sign, since I wanted it to look good, but very little can look good when quite that small...


So small.

I decided to try mini silkscreen, since it's the best way to get an even looking design onto fabric (besides maybe airbrushing, but that's debatable depending on skill level and paint available).  Instead of using one of my actual screens, I thought what the hell, I'll just make a little one, it's just a frame with some screen over it, simple!

So instead of making an actual mini one, I decided to make a mini disposable one!  I had some extra mat board scraps and screen.  The screen I use isn't actually made for silk screening, I went to Target and bought one white sheer curtain for about $4, and it's probably more screen than I will ever use.

So I just cut a window out of the mat board and hot glued the screen in it!  I did my best to get it tight, but since it's so small it's not too important.  As long as it isn't all saggy or anything!


Next I drew the design I wanted on with pencil.  I drew it on with the shirt underneath so I was sure to get the scale right.


Since this is a throwaway screen I decided to just use Mod Podge to fill it in, since it wouldn't need to come off again.  Mod Podge is good since it's water resistant, which is what you need!

So just paint it on carefully avoiding your drawn design, the point is to fill in the screen everywhere but your design.  So paint won't go through the filled areas that you've painted, but will go through the design!  I hope that makes sense, I'm so bad at explaining it.


I just paint a little square around it, and when it's dry I'll use tape to cover the rest, since I don't feel like painting the whole thing in.


Just wait for it to dry!  I'll finish this up tomorrow!

Thursday, March 8, 2012

More work on the obitsu!

I have been working more on the little custom obistu to be a Homestuck troll.  For now I'm just leaving the body alone, since it will be an awful lot of work to fix.  I'm thinking of trying to dye it next time?  Since chipping at the joints is a huge issue.

But for now what I've done is sew some clothes and add hair.  I'm really not the best there is at placing wefts, so there is er, a bald spot or two around the back of the head, and maybe a few wefts still showing, but it's acceptable I think?  I also know nothing about how to cut hair, so I just kind of winged it.

The clothes... were so hard to make ^^;  I'll make sure to take some photos of the size of this doll when it's done, but it's an 11cm doll, so the clothes are very small.  Thankfully the jeans fabric was stiff enough that I could put it through the machine, but the shirt not so much.


Looks like the hair needs some taming on top there, I think I'm just going to use glue.

Tuesday, March 6, 2012

No updates, bad me x(

Sorry for the sudden lack of updating!  I've been having some of those days where everything I do turns to a big pile of crap.  I kept trying to switch from one thing to the other, but... sigh, nothing is going.

So here's one of my failures, since I have nothing successful to show :(


A while ago I bought a few little Obitsu dolls, since they're awfully cute sometimes and especially cheap.  I wanted to try out one of their new tiny ones, the 11cm ones.  They're very similar to Pukipukis from Fairyland, only significantly cheaper!  I think I paid around $28 for one with a head from Junkyspot.com

I just let it sit around for a long time before I decided that I might like to try making a little Homestuck character?  Have you heard about Homestuck?  It's a webcomic at MSPaintAdventures.com

Anyways, I thought I could try to make one of my favorite characters from it into a little doll!  So here's my trying to make Sollux Captor into a little Obitsu.  The first problem was that I needed to make the skin gray, so airbrush away!

Then I tried to seal it and well... I don't know if you've seen sealant gone wrong, but something here has gone so, so wrong.


I've used sealant enough to know why this happened.  I didn't let some part of it dry enough, so it crackles like a mother.  I now get to look forward to wiping it all off, mixing the same shade of gray again, and sealing once I'm absolutely sure that it's dry.

Somehow the issue did not effect the head, so I went ahead and painted a face!


My only issue is that I do not have a gloss that I've found to work on vinyl that will dry completely.  Should I try Tamiya?  I use Liquitex, hm.

Saturday, March 3, 2012

Time spent weaving

So I've started weaving on this warp, it's going okay so far!  I mentioned before that the yarn I chose will cause me difficulty since it is a single (as opposed to 2-ply, 3-ply etc), and that makes it more likely to come apart.  This is problematic since to weave, since the threads need to be kept under tension for weaving, but you have to be careful to keep the correct amount.  Too little tension and the threads will get rubbed on too much, too much and they will snap.

My first instinct was to go with really high tension, thinking that they will be a little thinner that way, and it will keep them together?  It was a poor argument, and did not go well, I had three snap during weaving.  So this time I went with a medium/low tension, just enough to let me beat the threads down without them stretching every time I pulled.


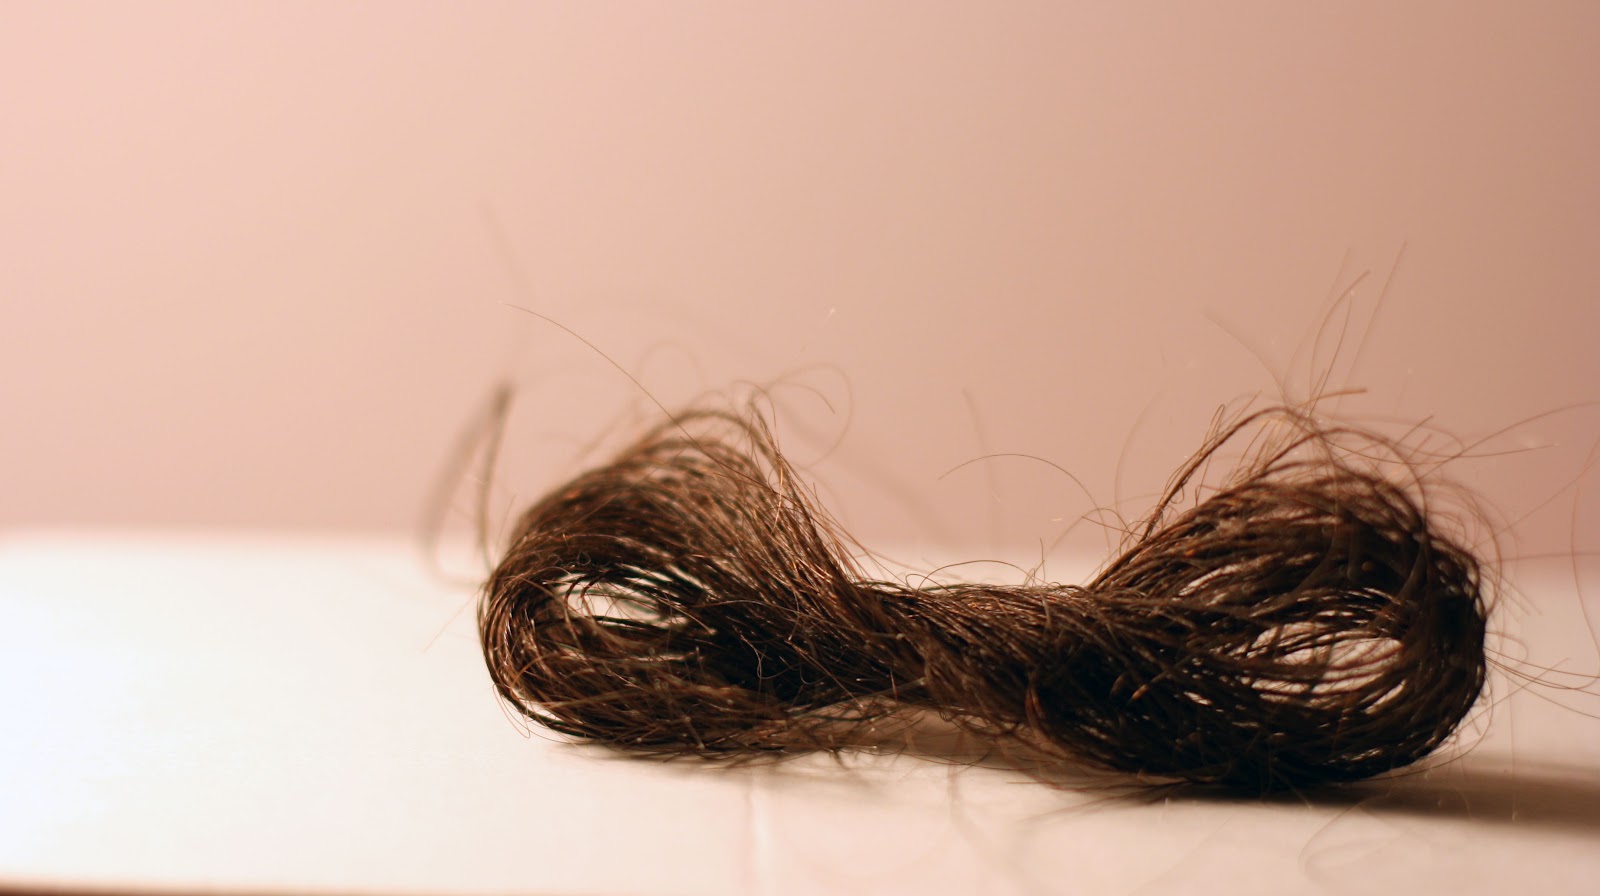
I don't know how well this shows the tension, but it's not terribly taut.


I have the harnesses set up to do a basket weave!  I have a four harness loom, and I strung it on a straight draw (1, 2, 3, 4), so I set up my pedals to do 1 2, and 3 4.


Before I can weave I have to even out all of the threads!  Since they're in sort of V patterns from where I tied them onto the rod in groups.  To get them even you open the sheds (the spaces between the threads when you lift up a harness) and put yarn through a few times before beating.  You will have to pull harder on the beater to get all three shots down to the bottom, but it works really well to get things even!


Better, but not great!  Most people recommend weaving anywhere from one to four inches before getting to the real weaving, but I'm lazy so I usually end up just shy of an inch.


Not perfectly even, but since these threads are really thick, it's not much of an issue.  The more you weave the more even they get though.


Getting started weaving!  I bury the ends while I'm working, though there are other ways to do it.


A few inches in!  I have to decide what pattern I'm going to go with, since I have orange and green yarns!


Patten decided!  I made the error of cutting the ends of my yarn when I was burying them.  If at all possible it is so much better to tear the yarn, so that it will taper off and not stick out.  I tried that first but couldn't get it to tear, so I started cutting the yarn, but as you can see it's sticking out!

I thought about it and figured out that if I just untwist the yarn a little and hold it that way while I pull it comes apart easy.  I'll have to go back and fix the first few, but once I switched to tearing the yarn the ends are not a problem!


 More progress!  It'll take a while to finish it though!


Friday, March 2, 2012

From roving to yarn!

So I spent some time spinning yesterday and made the roving that I dyed and posted about yesterday into some yarn!

It's not really quite what I wanted, but it's certainly not bad?  It's just darker than I had planned is all.


It only made about 100 yards unfortunately!  I still have about half the roving, so it can probably get about 200 yards out of the 4oz of fiber, but ideally I would like more!

Thursday, March 1, 2012

Painted Roving

I got a book from the library about colors and spinning, and in it was a tutorial for painting rovings!  I had some lying around and I saw a beautiful yarn on etsy, but it was a bit too expensive, and there wasn't enough of it (I need 400 yards to make much of anything really on the loom).  I save a photo of it and decided to try and make my own kind of like it!

I ordered RIT powder dye from joanns.com, they have a good price at $2.29 a box, and there was a coupon for free shipping, so I got a bunch of them for like $15.

There are a ton of tutorials for painting rovings online, it's super easy!  It takes a little time, but you don't even really need any special equipment.


I used three colors.  Fuschia, rose and tan.  Rose and tan were both 'tints' instead of dyes, so they were less concentrated anyways.  It made less work for me, but if you want to get your money's worth out of the dyes you could just buy the actual dyes and water them down.  But when they're only $2.29 a box it's hardly worth it anyways.


This is four ounces of fiber, and I used a little bit less than half of each packet of powdered dye to dye this much.


You can kind of see that mine ended up a liiiiitle bit felted.  It happened when I was washing the dye out.  I really need to invest in a bag that I can wash fibers in, since it was a little bit too much agitation when having to change the water a lot to get the dye out.  In the end I left it with a liiiitle bit of dye still, and I'll just wash it more once it's been made into yarn.  I'll just have to deal with it dyeing my fingers a little bit when I spin it!